Summarize this text with artificial intelligence
Choose your preferred tool to generate a short summary of the text.
How to integrate your Shopify and WooCommerce store into the shipping platform?
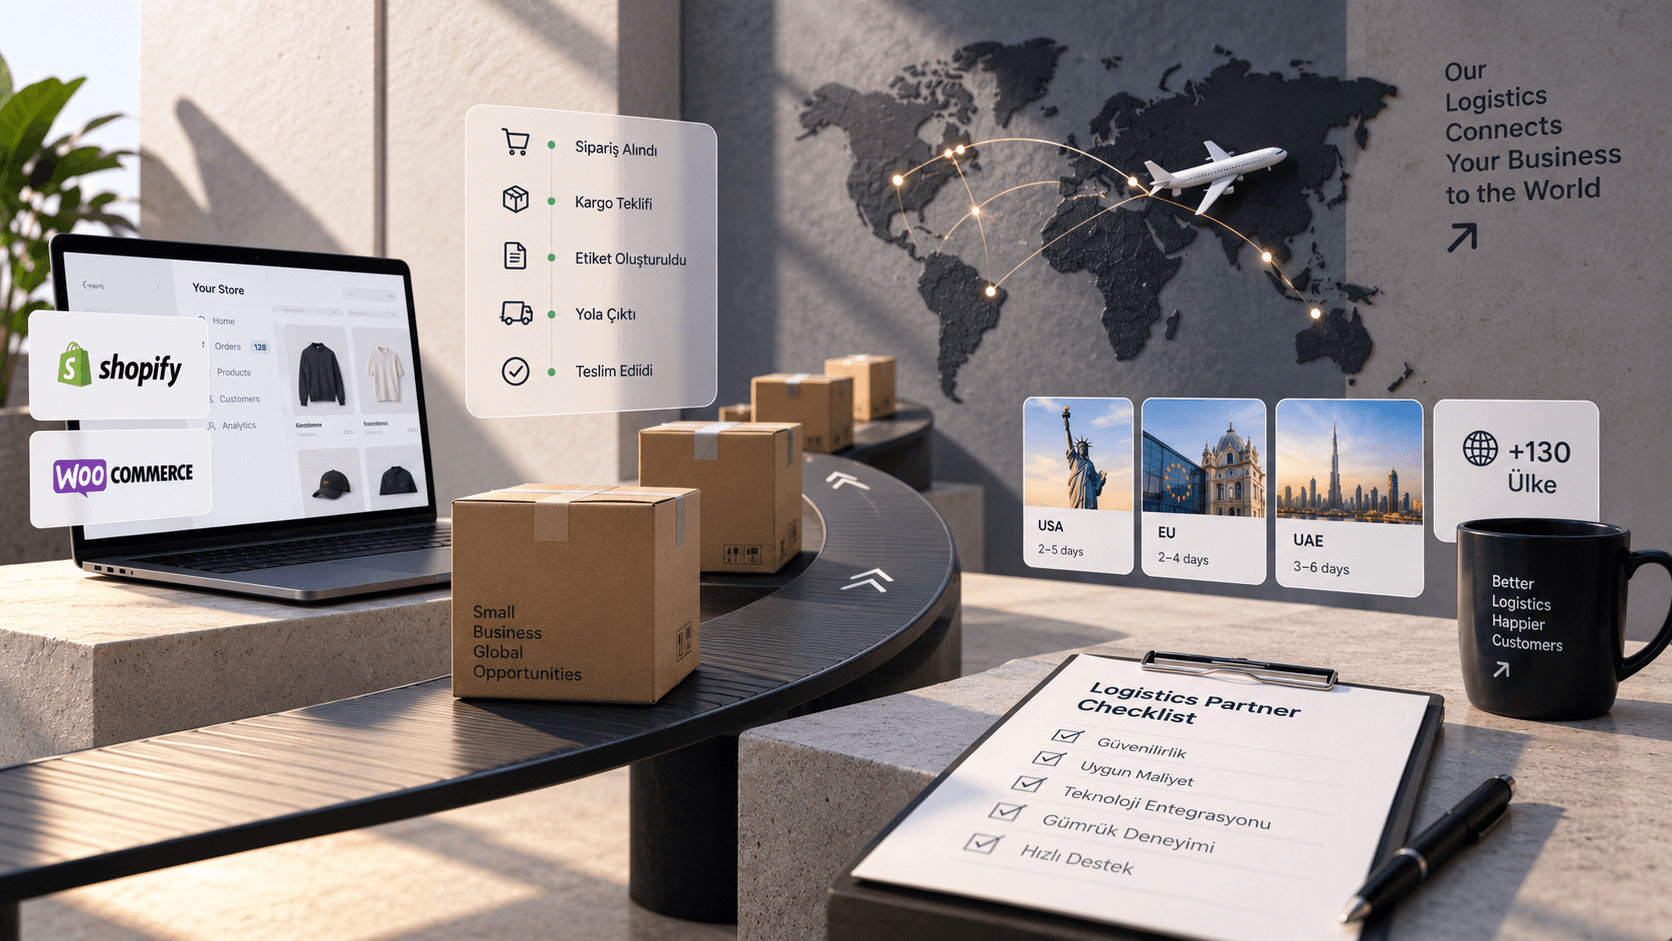
Integrating your e-commerce site into the shipping platform frees orders from Shopify or WooCommerce from manual tracking and connects them to automated quoting, label generation, and shipment tracking. When you connect your store to the Navlungo panel, you can compare shipping rates to over 130 countries the moment an order arrives, select the appropriate carrier, and complete the shipment in just a few minutes. This guide shows you how to set up the integration step-by-step.
The summary of the integration process is as follows:
1. Create a Navlungo account and log in to the panel.
2. Connect your Shopify or WooCommerce store to the panel.
3. Get and compare instant shipping rates from carrier companies.
4. Configure shipping and automation settings.
5. Verify the integration with a test order.
6. Upload shipping documents and complete the payment.
7. Track the shipment and send notifications to the customer.
Table of Contents
1. Prerequisites for integration
2. Steps to integrate your Shopify and WooCommerce store into the Navlungo panel
1. Step 1: Create a Navlungo account and log in to the panel
2. Step 2: Connect your store platform to the panel
3. Step 3: Get and compare rates from shipping companies
4. Step 4: Configure shipping and automation settings
5. Step 5: Verify the integration with a test order
6. Step 6: Upload shipping documents and complete the payment
7. Step 7: Track the shipment and send notifications
3. How to know if the integration is working correctly
4. Common errors and their solutions
5. Manual shipping management vs. automated integration
6. Frequently asked questions
Prerequisites for integration
Before starting the integration, a few elements need to be ready. The Navlungo panel is the management interface where you gather shipping quote requests, comparisons, and tracking processes on a single screen, and it is opened by registering via ship.navlungo.com.
Check the list below:
Admin access to the Shopify or WooCommerce store
Product weight, dimensions, and stock information being up-to-date
Prior knowledge about destination countries and preferred shipping carriers, such as DHL or FedEx
Access to the US Customs Duty Calculator tool for duty estimation if shipping to the US
Digital copies of invoices and shipping documents
Steps to integrate your Shopify and WooCommerce store into the Navlungo panel
The following steps apply to both Shopify and WooCommerce stores. Menu names in the platform interface may show minor differences.
Step 1: Create a Navlungo account and log in to the panel
An account is opened with an email address via the Login / Register page, and company details are defined in the panel. Once the account is approved, shipping quotes to over 130 countries become viewable in the panel.
> Tip: Entering the company title and tax number completely at this stage prevents errors in invoices and customs documents in the subsequent steps.
Step 2: Connect your store platform to the panel
From the store connection section in the panel, Shopify or WooCommerce is selected, and the connection is completed by entering the store address and API key. API integration is the connection method that puts the store platform and shipping panel into automatic data exchange. Marketplaces like Amazon, eBay, or Etsy can also be added from the same screen; installation details are explained separately on the Amazon International Shipping, eBay International Shipping, and Etsy International Shipping pages.
Once the connection is completed, existing orders in the store are automatically imported into the panel.
Step 3: Get and compare rates from shipping companies
When an order is selected in the panel, a list of quotes is displayed among eco, express, and standard service options. Quotes are instantly compiled from numerous logistics providers, including DHL International Shipping and FedEx International Shipping.
> Warning: Delivery time should be compared as much as the price; the cheapest option may not always be the fastest.
Step 4: Configure shipping and automation settings
An automation rule is a setting that automatically selects the shipping carrier or service type when certain conditions are met, such as for orders going to a specific country or within a weight range. In this step, the default package weight, warehouse address, and invoice template are also defined in the panel.
Default shipment weight and dimensions are entered
Warehouse or fulfillment address is selected
An automatic shipping carrier rule based on country is created
Step 5: Verify the integration with a test order
A small test order is created from the store to check that it appears in the panel, the quote list is automatically populated, and the selected shipping company is applied correctly. This step should not be skipped before going live with sales.
Step 6: Upload shipping documents and complete the payment
The invoice, packing list, and customs declaration document (if required) are uploaded to the panel; for US shipments, the estimated tax amount can be checked in advance on the US Customs Duty Calculator page. Payment is made through the panel using a credit card or other online methods.
Step 7: Track the shipment and send notifications
Once the payment is approved, the shipping company picks up the shipment from the specified address and a tracking number is generated in the panel. If the store integration is active, tracking details are automatically sent to the customer.
How to know if the integration is working correctly
If the integration is working correctly, new orders will appear in the panel within a few seconds without additional manual action, and the quote list will load automatically. The reflection of the tracking number on the store's order page and the notification sent to the customer are signs that the setup is complete. If these three checks are not met, the store connection or API key should be reviewed.
Common errors and their solutions
Incorrect API key entry: the key should be regenerated from the store panel and updated in the Navlungo panel.
Missing product weight details: this causes incorrect quotes; weight and dimension fields must be completed on the store's product page.
Conflicting automation rules: if multiple rules are defined for the same country, the panel might get confused with prioritization; rules should be checked one by one.
Incomplete upload of customs documents: this causes delays, especially in US shipments; invoice details should be checked before uploading the document.
Manual shipping management vs. automated integration
| Criteria | Manual process | Navlungo integration |
| --- | --- | --- |
| Getting quotes | Contacting carriers individually | Instant comparison via panel |
| Order transfer | Manual data entry | Automatic synchronization |
| Document management | Tracked in separate files | Single-point upload via the panel |
| Tracking info | Manual delivery to customer | Automatic notification |
The manual method can also be used for low-volume, irregular shipments. However, as the number of orders increases, automation minimizes time loss.
Frequently asked questions
Is the Shopify and WooCommerce integration paid?
There is no separate subscription fee for membership to the Navlungo panel and store connection; payment is made only for the selected shipping service. A budget-friendly service can be selected from the quotes displayed in the panel.
How long does the integration setup take?
Store connection and API key configuration are usually completed within 15 to 30 minutes. Setting up automation rules and warehouse information may take a few more hours depending on the store size.
Can integration be done without an API key?
No, in order to connect the Shopify or WooCommerce store to the panel, either the API key generated by the platform or an app connection is required. This key is created in a few steps from the store admin panel.
Can multiple stores be managed from a single panel?
Yes, the Navlungo panel lists multiple Shopify, WooCommerce, or marketplace accounts, such as Amazon, eBay, and Etsy, on the same screen. Orders for each store are displayed in separate tabs, and quoting and tracking processes are handled from the shared panel.
Does the integration only work for international shipments?
The integration supports getting quotes for both domestic and international shipments to more than 130 countries. For US shipments, customs duty estimates can also be calculated from the same panel.
Will order data be lost during integration?
No, the connection between the store platform and the panel synchronizes order information in a read-only manner and does not modify the original data in the store. In case of any issues, the synchronization history can be re-checked from the panel.